Warning!
This was written over two years ago, so some information might be outdated.
Frameworks and best practices change. The web moves fast! You may need to adjust
a few things if you follow this article word for word.
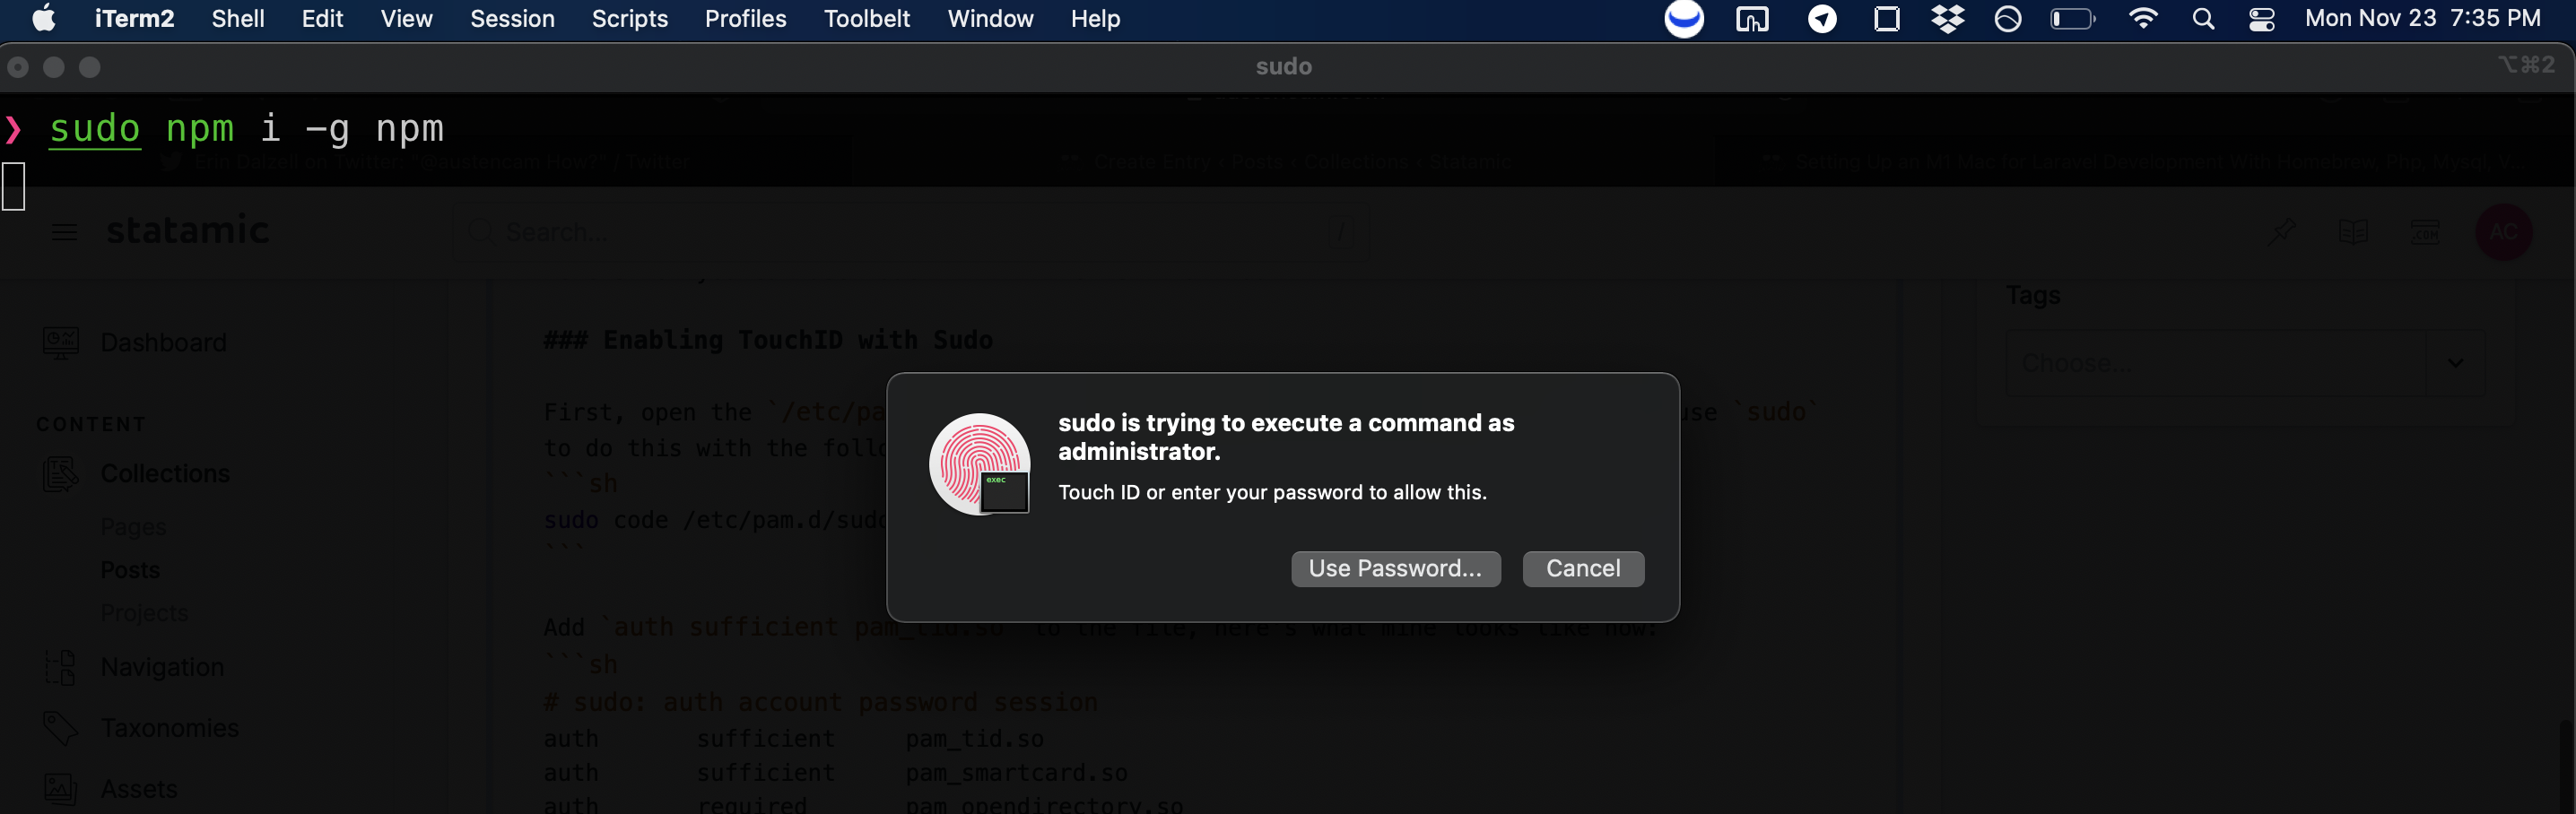
Now that I've got a mac with TouchID, I rarely use my password. It's incredible how convenient that little button is. One place I found myself still typing my password was running sudo commands in the terminal.
Here's how you can use TouchID with the terminal too!
Enabling TouchID with Sudo
First, open the /etc/pam.d/sudo in an editor with admin permissions. I had to use sudo to do this with the following command:
Copied!
Add auth sufficient pam_tid.so to the file, here's what mine looks like now:
(I only added the line with pam_tid.so on it.)
Copied!
iTerm Support
iTerm has an advanced option that you also need to set for this to work properly. Go to
Preferences ⇒ Advanced ⇒ Allow sessions to survive after logging out and back in
Change this setting to No.

Restart iTerm and try it out!
Enjoy this article? Follow me on Twitter for more tips, articles and links.
LIKES


MENTIONS
Want Updates?
Sign up here if you want to stay in the loop about new articles or products I'm making.
I'll never spam you. Unsubscribe at any time.